Aaaaah, it’s autumn! My favorite. I’ve enjoyed my summer break from blogging and social media-ing, but I’ve missed aspects of them too. How are you? This weekend, my little family will fly out to Chicago to drop off K — now 18-years-old — and we are all full of big, big feelings. I am excited for her. I think back to my own first days at UCLA, how I started my journaling habit almost 35 years ago in a little coffee shop tucked into the corner of a weathered campus building. 18-year-old Sanae ... Read more
Tatter Class: Sashiko Summer Slip Ons
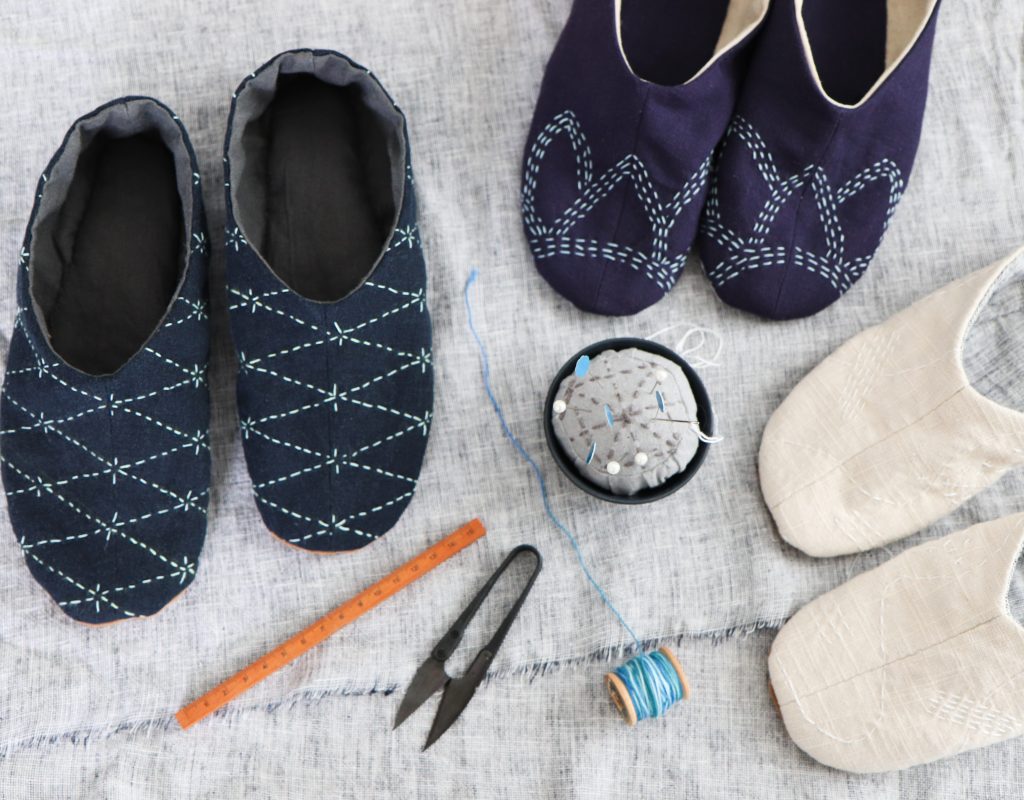
Hello, my friends! My brain is extremely full right now, what with K's prom and graduation and big trips (visiting my parents in Japan! Moving K to Chicago!) and other big life upheavals careening towards me. I'm keeping this month's update super mini, and just wanted to let you know about an exciting new class I'll be teaching for the incredible Tatter. The virtual class will be on July 18th and 25th, featuring hand stitched Sashiko slip ons (aka slippers or house shoes). Click here to find out ... Read more
Crazy + Cozy

Hello there! 2024 has started out rather crazily for me: injuries, financial upheavals, accidents (vehicular and otherwise), spectacular emotional blow-ups, resurgence of long forgotten ailments, and just general weirdness -- I’ve contended with them all in the last month. And of course, there are the global/national events. It definitely has NOT been boring. When I was getting my teeth cleaned last week, the hygienist was experiencing a bout of craziness as well, and we joked that maybe Saturn ... Read more
2023 Advent Calendar – The Final One

This is it, my friends. The final Advent Calendar for my not-so-little girl. Next year around this time, she’ll be somewhere on a college campus, taking exams or grabbing food from the dorm cafeteria on her way to a class. The daunting phrase is looming above me all the time lately: empty nester. I have a plethora of thoughts on that. But I won't go into them right now. For 11 straight years, I’ve handcrafted a different advent calendar during the month of November to set it up by the last day ... Read more
Creativebug: The Hanten Coat

Hello my friends! I know, I know, it seems like I am constantly updating you on Creativebug classes. I've had the enormous pleasure and honor of filming approximately 20 classes with them, so there's a lot to talk about. My latest class on how to draft and sew a Hanten Coat just launched and I love, love, love this coat. It's an enthusiastic nod to the traditional Japanese quilted short jacket by the same name. You can also check out a fun little styling reel I created with the ... Read more