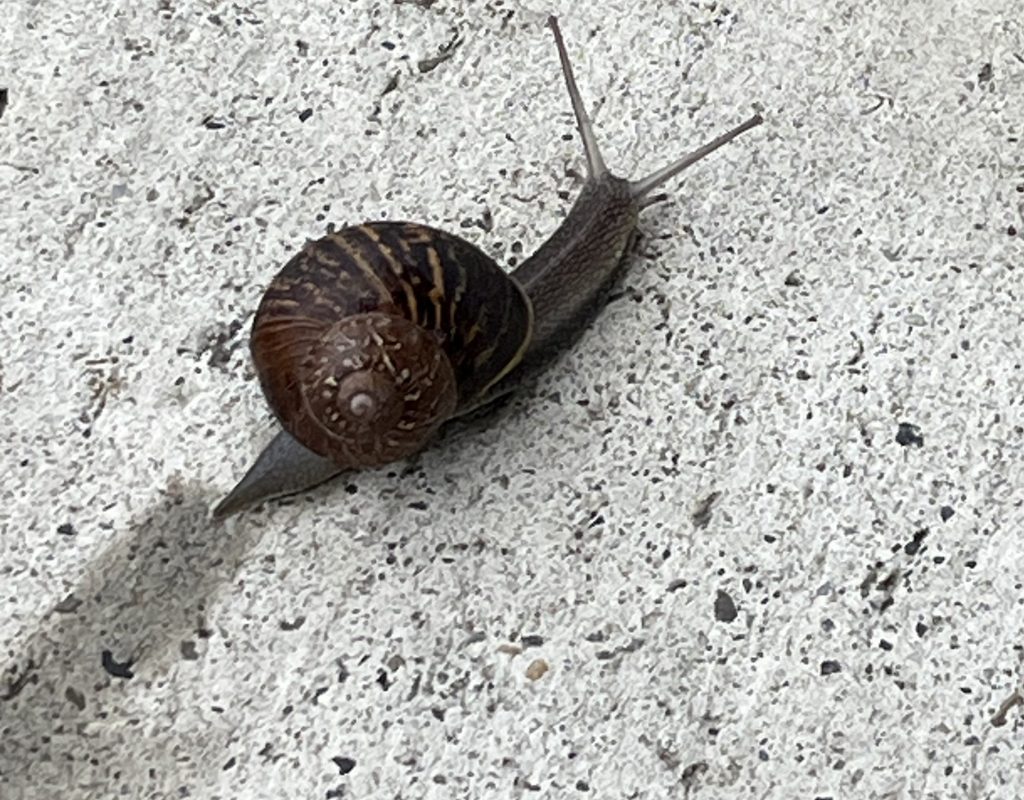
Hello. We’re heading into May, and I am on the brink of finalizing some projects. But I am so slow, my friends. So, so slow. I snapped this photo of my kindred spirit, and I watched it take its sweet old time for several minutes. “What’s the rush, love?” It seemed to telepathically mind meld with me. What’s the rush, indeed? One of the benefits of getting older is realizing that so few things are urgent and important. There’s that quote I see on mugs and tea towels and cafe walls: nature does ... Read more
Antidotes to Chronic Content Fatigue Syndrome
For a while now, I've mostly been promoting things here. Books. Classes. Products. I'm a lackluster marketer, I know, but needs must when creating has become a job. Or at least that's what I told myself. I don't know about you, but I've been feeling the effects of what I'm calling Chronic Content Fatigue Syndrome (CCFS). The weariness isn't just from my own consumption of too much internet-ness, but also from constantly producing for others to consume. Or not even producing content but thinking ... Read more
I’m a knitter now
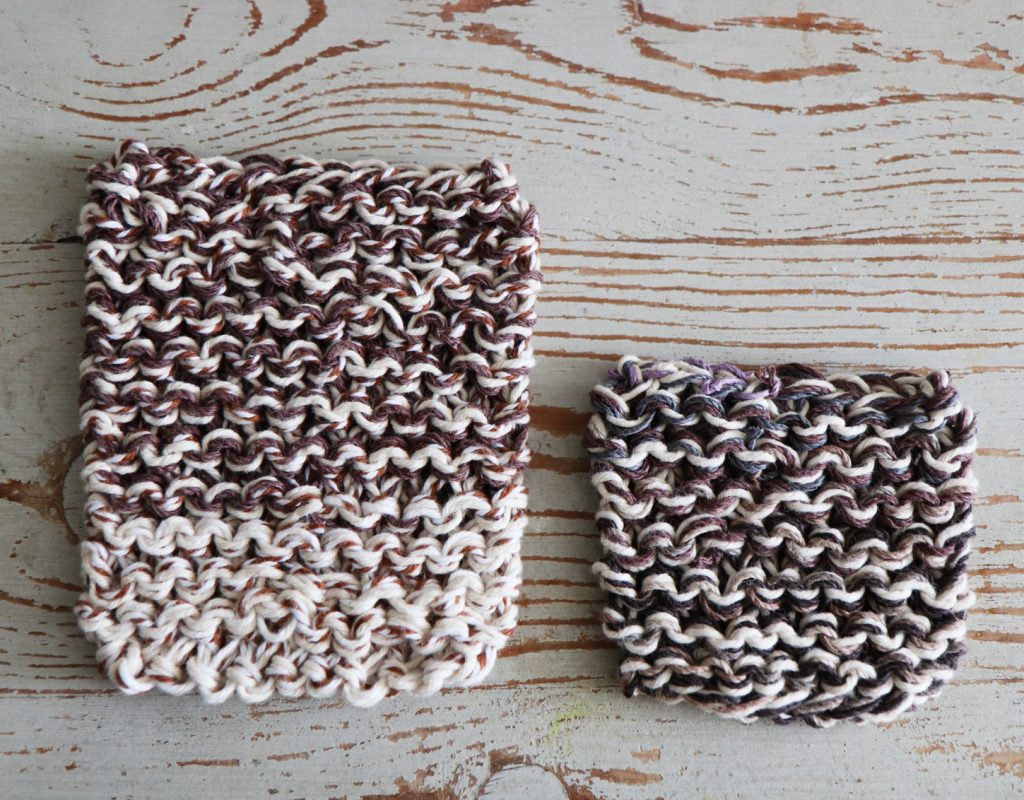
I've wanted to be a legit knitter for decades. I'd dive in with great enthusiasm, clacking away with bamboo needles to create a lap blanket or scarf or -- misguidedly -- a sweater, only to realize that I am unable to keep track of stitches for some mysterious reason. I would watch in horror as my project morphed into something entirely different from what I'd planned, would get super confused when consulting books and videos and then...I'd give up. Inevitably, autumn would roll around again, and ... Read more
2024 Free Printable Holiday Tags
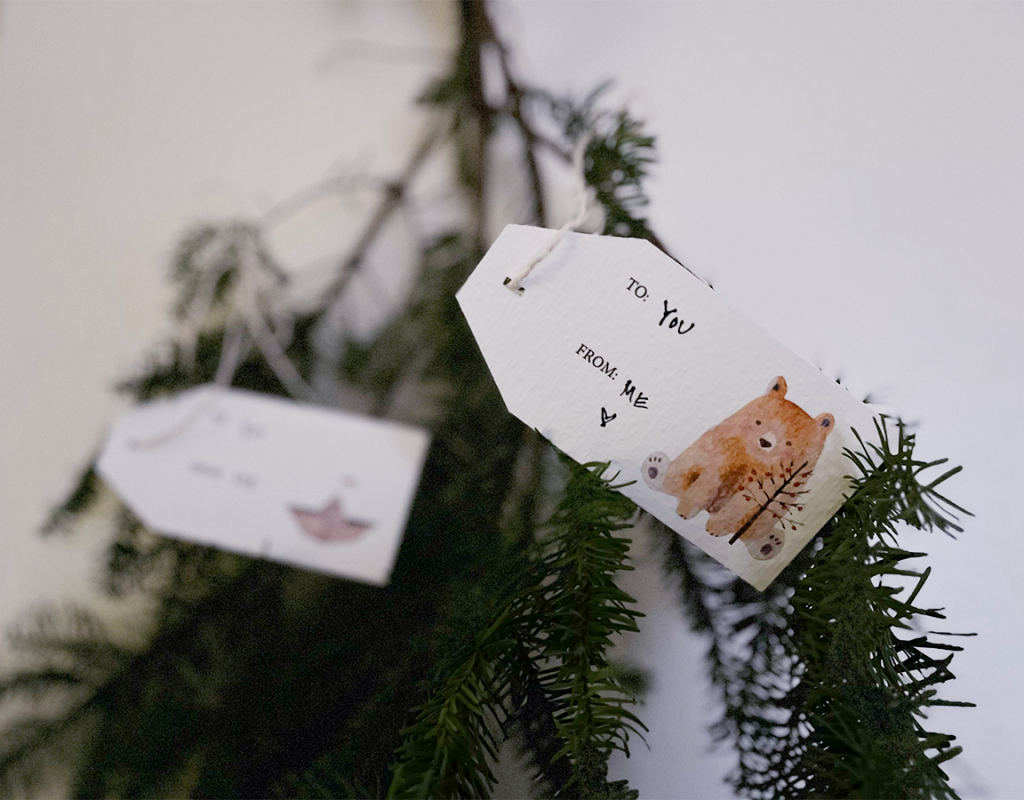
Hello, my friends! Just stopping by to let you know that I designed a few simple and cute (and free!) printable tags for you. I am, at the moment, feeling pretty rough and under the weather. All I know is that it's not COVID, but it's tenacious. I wasn't sure if I'd get these tags done this year, and as always I had such ambitions. Ohhhhh....my perennial ambitions. But as Buddha says (or at least I think it was Buddha), "Enough is a feast," and I'm going to call these sweet ones good ... Read more
Happy Thanksgiving!
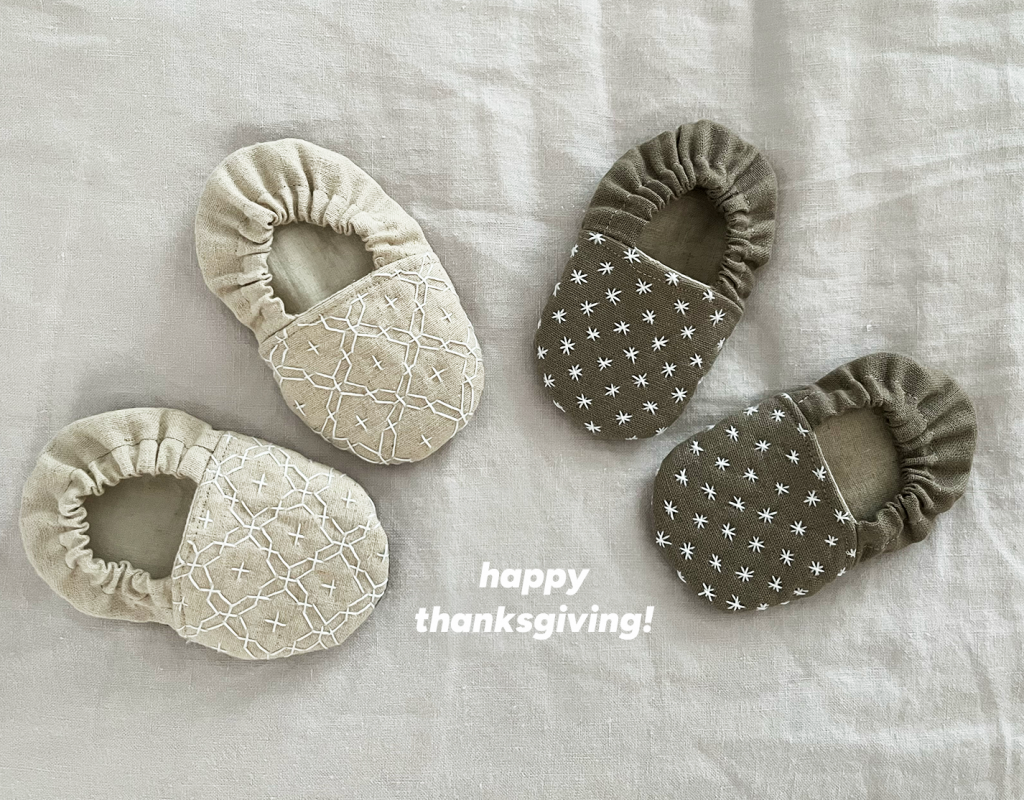
Well, now. You may be wondering just how many times I can possibly post images of handmade booties/slippers, and the answer is: infinitely. Especially when they're adorably miniaturized like these. I did it, my friends. I finished teaching my last class of the year, which included a quick overview of how to make these cuties shown above. If there is interest, I can sell the pattern and tutorial on my shop? Let me know. I've also been working on a couple of books this year and those are ... Read more