Happy Friday + Randomness

wip-illos

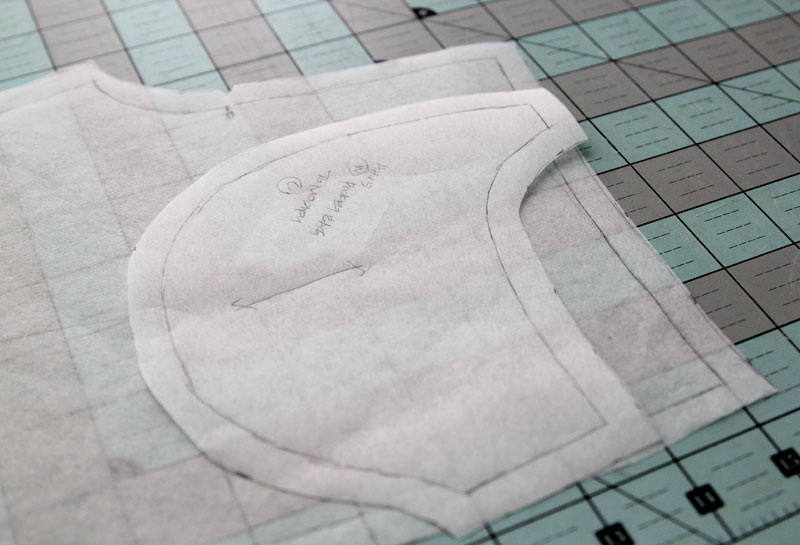
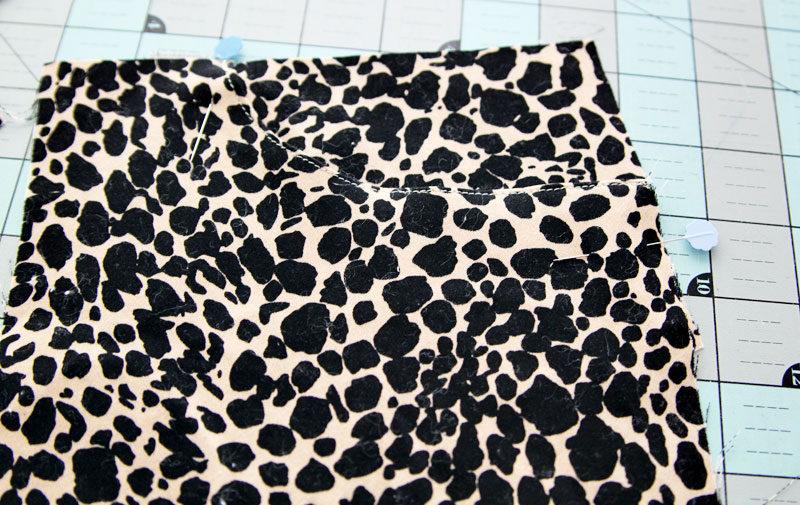
Happy Friday! There’s been a lot of painting going on lately, and I’m also raring to dive into sewing — five more days until K is back in school, and I will have gloriously large swaths of time to devote to personal projects. Can’t wait!! I’ve been wading through my massive stash, trying not to get overcome by the vast number of choices.

For now, I’m savoring the last moments of summer and am hosting a lot of playdates.

**************

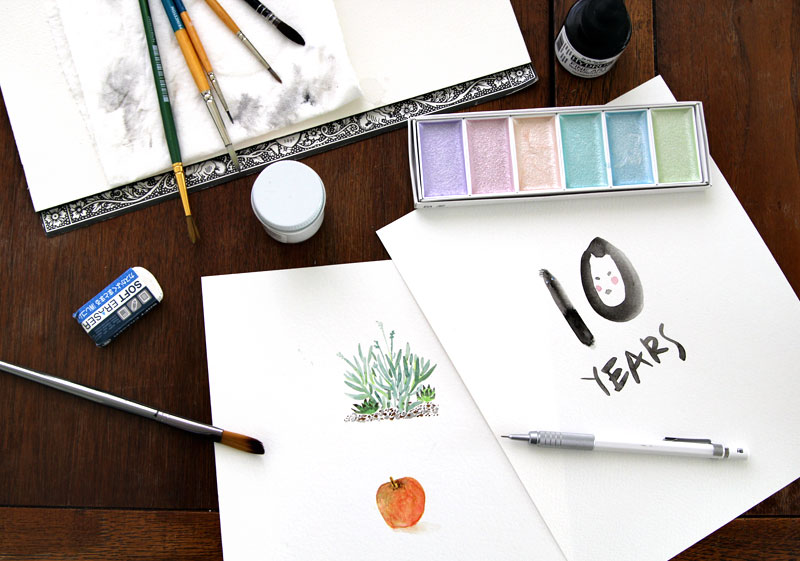
M and I celebrated our 10-year anniversary yesterday. We are on a strict, strict budget right now, so we opted to hold off on anything that smacks even remotely of opulence, so we had a simple, unglamorous outing involving cheap food and a movie. Time to chat, reflect on a decades’ worth of memories, and marvel at how the years melt away. I painted a little card for him. It’s the “10 years” illo up there and I put it in a frame. He’s the “1” (get it?) and I’m the zero (not in the negative sense, of course — maybe we’ll interpret it as me being the circle of life).

**************

My favorite K quote of the week: “Mama, you smell like puffy white clouds.” Apparently, the scent is a mixture of airy, clean and pretty.

**************

Have a wonderful weekend, friends! Are you as happy as I am that it’s almost Fall?

The air is crisper
Back-to-school around the bend
Reset, refresh, go!

P.S. The giveaway winner is Jill, congrats!

Tutorial: Happy Homemade Vol 5 Pants Hack

pants-hack2
Earlier this week, I showed you the animal print pants I modified slightly, and I’m recording the changes I made here so I won’t forget. I used pattern c for the pants, but didn’t like the front patch pockets. Switching up the pockets for the “slim pants” was super easy because I simply frankensteined the skirt pockets from pattern w of the same book. Seamless! I also slimmed down the legs by my usual hyper accurate method of eyeballing, and added an extra 1cm to the length, but for this post, I’ll focus on the pockets.

pants-hack1

Here’s what I did (I’m showing the process for only one pant leg, but you would obviously repeat the process for the other pant leg):

1. All I needed from pattern w were the pocket facing and the pocket bag. In the image below, the top piece is the pocket bag, and the bottom piece is the pocket facing.

pants-hack3

2. For the pocket opening, I simply traced the curve of the pocket facing onto the front pant pattern piece and cut out the corner.

pants-hack4 pants-hack5

3. With right sides facing, I sewed the facing to the corresponding front pant leg.

pants-hack6

4. Make sure to clip the curves so the fabric will flatten nicely. I usually trim the seam allowance down to about 1/2cm but I didn’t bother in this case.

pants-hack8

5. Flip the facing to the other side and press.

pants-hack9

6. Topstitch along the curve of the pocket opening.

pants-hack10

7. Align pocket bag so that the right side of the pocket bag is facing the wrong side of the front pant leg. You want to make sure the pocket bag matches up with the pocket facing. Pin and baste in place at the top of the pant leg (where the waistband will be attached) and the at the side of the pant leg.

pants-hack11

8. Sew the pocket bag to the pocket facing, following the curve (indicated by the aqua line below). Zig zag stitch or overlock raw edges together.

pants-hack12

And that’s it! Easy peasy. I followed the instructions from the book to construct the rest of the pants and now K can enjoy her rockstar pants for at least a year!

rockstar-pants3 rockstar-pants2